Simple Kivy App
I’ve been messing around with a Python library called Kivy. It’s a library that lets you create apps for iOS, Android, Windows, Mac, and Linux but I’ve seen people use it mostly for mobile.
For this post we’ll create a simple app that has mainly 2 parts to it. First part is that it will have a label, basically text, and two buttons associated with it. A Plus and Minus button for changing the labels value. The second is that it will have a input box and one button associated with it. Whenever someone presses that button a pop-up box will appear with a message.
To begin you must first install Kivy and it’s dependencies. If your on Windows like me, then your in luck. I find it easier to install it than in Linux. If you have Windows go HERE (Also if you read the header, it’ll say it needs PyGame. Install it too). If you’re on Linux then I’m guessing that you’re smart enough to follow the directions HERE.
Alright, lets being. First create a file called main.py
# Third Party Libraries
from kivy.app import App
from kivy.uix.boxlayout import BoxLayout

class SimpleRoot(BoxLayout): # 2
    pass

class SimpleApp(App):  # 1
    def build(self):
        # Return root widget
        return SimpleRoot()

if __name__ == "__main__":
    SimpleApp().run()
If you run this you shuld simply just see a black screen, just like below.
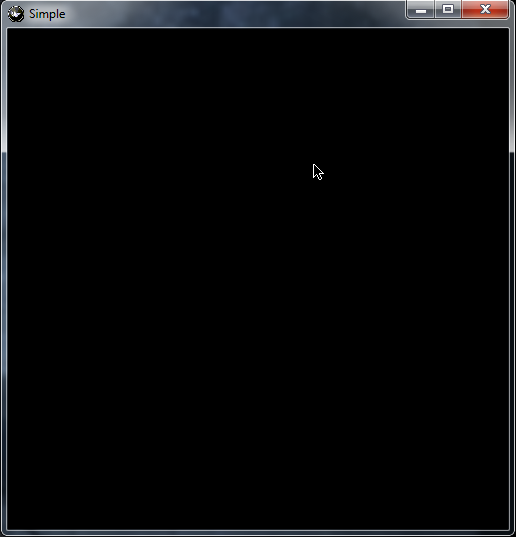 Sweet! We have something running :) Alright now to break it down. First we import the things from Kivy that we need, which in this case it’s two things: App and BoxLayout.
The App class that we import is the base for all kivy applications. It’s what starts your programs life cycle. We create an object that inherits from it and then override the build method to return the root widget tree for the application (A widget is basically anything such as labels, buttons, etc). The root widget is where basically all other widgets will go inside of. We create a class called SimpleRoot that inherits from BoxLayout, and we set an instance of that class as the root. BoxLayout is a widget that sizes all the objects that it has inside of it neatly. For example if we have a button inside the BoxLayout, we can have it grow as the window grows and vice versa. We can also change that behavior if we wanted.
Now for the next part. Create a file called simple.kv. This type of file is a kivy file, it’s pretty darn awesome with what we can with it. It’s use is to organize the layout of our User Interface (UI). And it will make our lives easier. One thing that should be clear is that we must name the kivy file the same name we named our App instace class, which in this case is SimpleApp. Don’t need to include the ‘App’ part just the bit before it and also make it all lower case. For example lets say my App class is called ViceVersaApp, then the kv file would be viceversa.kv.
Lets add stuff to simple.kv
<SimpleRoot>:
    orientation: "vertical"
    Button:
        text: "Well well well..."
        on_release: print("HI!")
Here we defined how the SimpleRoot class should look like. Now since the class inherits from BoxLayout, we have to tell it how to organize things, either vertical or horizontal. We want to organize things from top to bottom so vertical, thats what line 2 is for. Next we create a Button widget. We say what it’s text should be and what should happen when the button is pressed and then released. So far it’s pretty readable. One thing that we will see is that the more attributes/widgets we add, the more indentation we will have to do, kind of like Python. Run the main.py and your program should look like this:
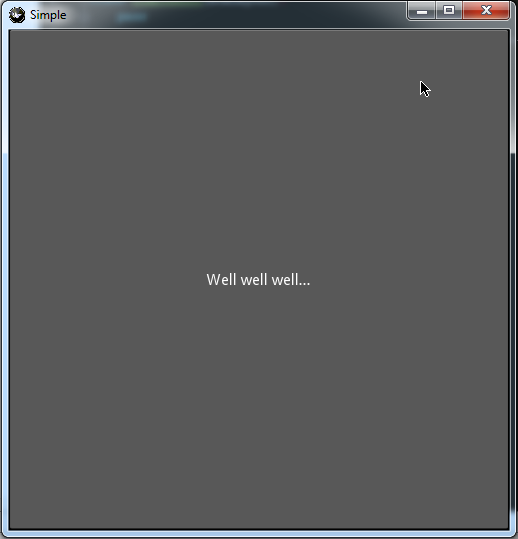
When you press and release the button, you should be able to see the "HI!" message in your output. Also the default behavior for the BoxLayout is to fill up all the space it can. As you can see the button took up the whole screen, if we had two buttons then each button would have 50/50 space and if there were three then it would be 1/3, 1/3, and 1/3. I think you get the picture. Remember we can also override that behavior. Well now we know how to add stuff, so lets erase what we have and add a Label and two buttons under it.
<SimpleRoot>:
    orientation: "vertical"
    padding: root.width * .02, root.height * .02
    spacing: "10dp"

    # We create the widgets
    Label:
        id: label_text
        text: "0"
        font_size: "30dp"
    BoxLayout:
        orientation: "horizontal"
        spacing: "30dp"
        Button:
            text: "Add"
            on_release: label_text.text = str(int(label_text.text) + 1)
        Button:
            text: "Subtract"
            on_release: label_text.text = str(int(label_text.text) - 1)
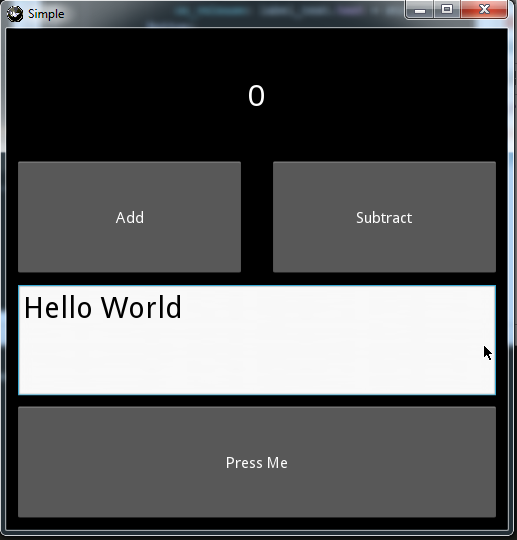
Here we created the Label and two buttons inside a BoxLayout. The Label has three things inside it: text, font_size and id. The first two are pretty easy to figure out. Text is what it’ll be showing and font_size is self explanatory. The id attribute is a way for referencing that widget with others. You can see that the labels id, label_text, is being used by the buttons when they are pressed. They are calling the label by using it’s id. Now lets move to the buttons. The buttons are inside a BoxLayout because we want them to be next to each other (That’s why the BoxLayout is using “horizontal”). We give the BoxLayout “30dp” for spacing and then we create our two buttons. Each button has text and it knows what to do when the button is released. In this case the buttons will either add or subtract the value that is set on the Label. The picture below explains the padding and spacing between widgets. Quick note is that padding is root.width * .02, root.height * .02 because we want it to take up 2 percent of the total screen width and height. Mess around with that number and experiment.

Alright sweet. We have our first part of the app done! Now for the second half. Here we go.
<SimpleRoot>:
    orientation: "vertical"
    padding: root.width * .02, root.height * .02
    spacing: "10dp"

    Label:
        id: label_text
        text: "0"
        font_size: "30dp"
    BoxLayout:
        orientation: "horizontal"
        spacing: "30dp"
        Button:
            text: "Add"
            on_release: label_text.text = str(int(label_text.text) + 1)
        Button:
            text: "Subtract"
            on_release: label_text.text = str(int(label_text.text) - 1)
    ##############################
    # Start of second part
    ##############################
    TextInput:
        id: text_input
        hint_text: "Enter Name"
        font_size: "30dp"

    Button:
        text: "Press Me"
        on_release: root.on_our_btn_release(text_input.text)
On the second part of our program we create a TextInput, set its id, hint_text and font_size. So far so good. Now on the Button widget we set its text and also told it what to do when it gets released. The line root.on_our_btn_release(text_input.text) can be broken down. The word root is a keyword that is special to kivy files only. It simply mean to go grab the left most parent widget which in this case it’s <SimpleRoot>. Once we have that widget we are going to call a method that it has. The method we call is on_our_btn_release and we’ll be passing the text that was entered into the TextInput widget. You might be asking where this method was created, well we havent created it so lets go create in the python file.
# New imports
from kivy.uix.popup import Popup
from kivy.uix.label import Label
class SimpleRoot(BoxLayout):
    def on_our_btn_release(self, text_input):
        text = Label(text="Hello, {}!".format(text_input))
        pop_up = Popup(title="Our Title!", content=text, size_hint=(.7, .7))
        pop_up.open()
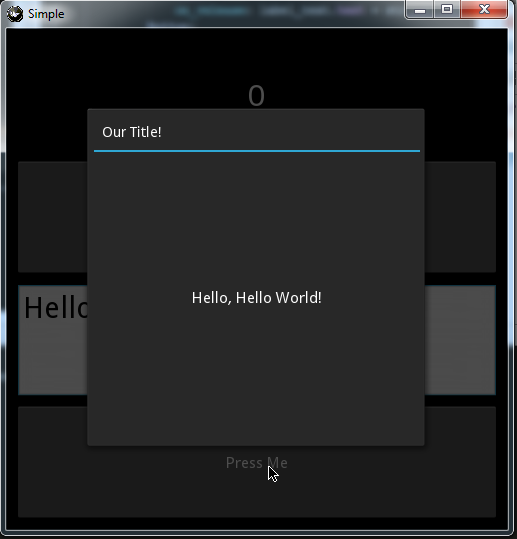
As you can see we can communicate back and forth between the kivy and python files. This can be very handy. This method takes in some text, creates a Label object that uses the text, creates a pop-up message that uses that Label and then finally we display it to the screen. The only thing I feel I should explain is the Popup. The Popup takes in a string to be used as the title, and the content attribute is what you want to show. We also tell it to take up 70% of the screen in height and width by using size_hint. If you run the program, it should look like the pictuers below.

If you want to compile this into an Android/iOS app you will need to do some extra steps. You can follow this video on how to do it. It’s a pretty simple process. If you notice any errors, or have suggestions, leave a comment.